Timpani Crash Course
I’ve been thinking about timpani a lot recently.
How to play them. How to move them. What different components do. How the pedal design is simultaneously both beautifully simple and maddeningly complex!
The first person to teach me timpani was a violist in my first rehearsal with the Adelaide Youth Sinfonia. My introduction to these instruments boiled down to “Here’s the head, pedal, and gauge. Hit one, move the other, and keep an eye on the third”. This was technically an accurate description of how timpani work, but back then I wished I had a map to help me navigate these drums which were (at the time) twice my size!
So, that’s what I’ve decided to do today. Consider this your beginner’s guide to all things timpani – enjoy!
Timpani linguistics
To begin with, let’s cover some important lingo!
It’s pretty common to hear people refer to these drums collectively as timpanis. However, due to the noun’s Italian origins, timpani (no s) is actually the proper pluralisation! Meanwhile the correct singular form is timpano.
Other common names for timpani include tympani, kettledrums, or Pauken (German).
If in doubt though, feel free to just shorten it to timp or timps!
The Playing Zone
So, where on the head should you hit a timp?
First thing to know is that the centre of a timpano is a dead zone. This is actually the least resonant part of the drum and will produce the worst sound. The second worst spot to play is too close to the rim, which produces a thin tone with a lot of contact noise.
The best playing position on timps is directly above the pedal, about 3 to 4 inches away from the rim (green zone below).
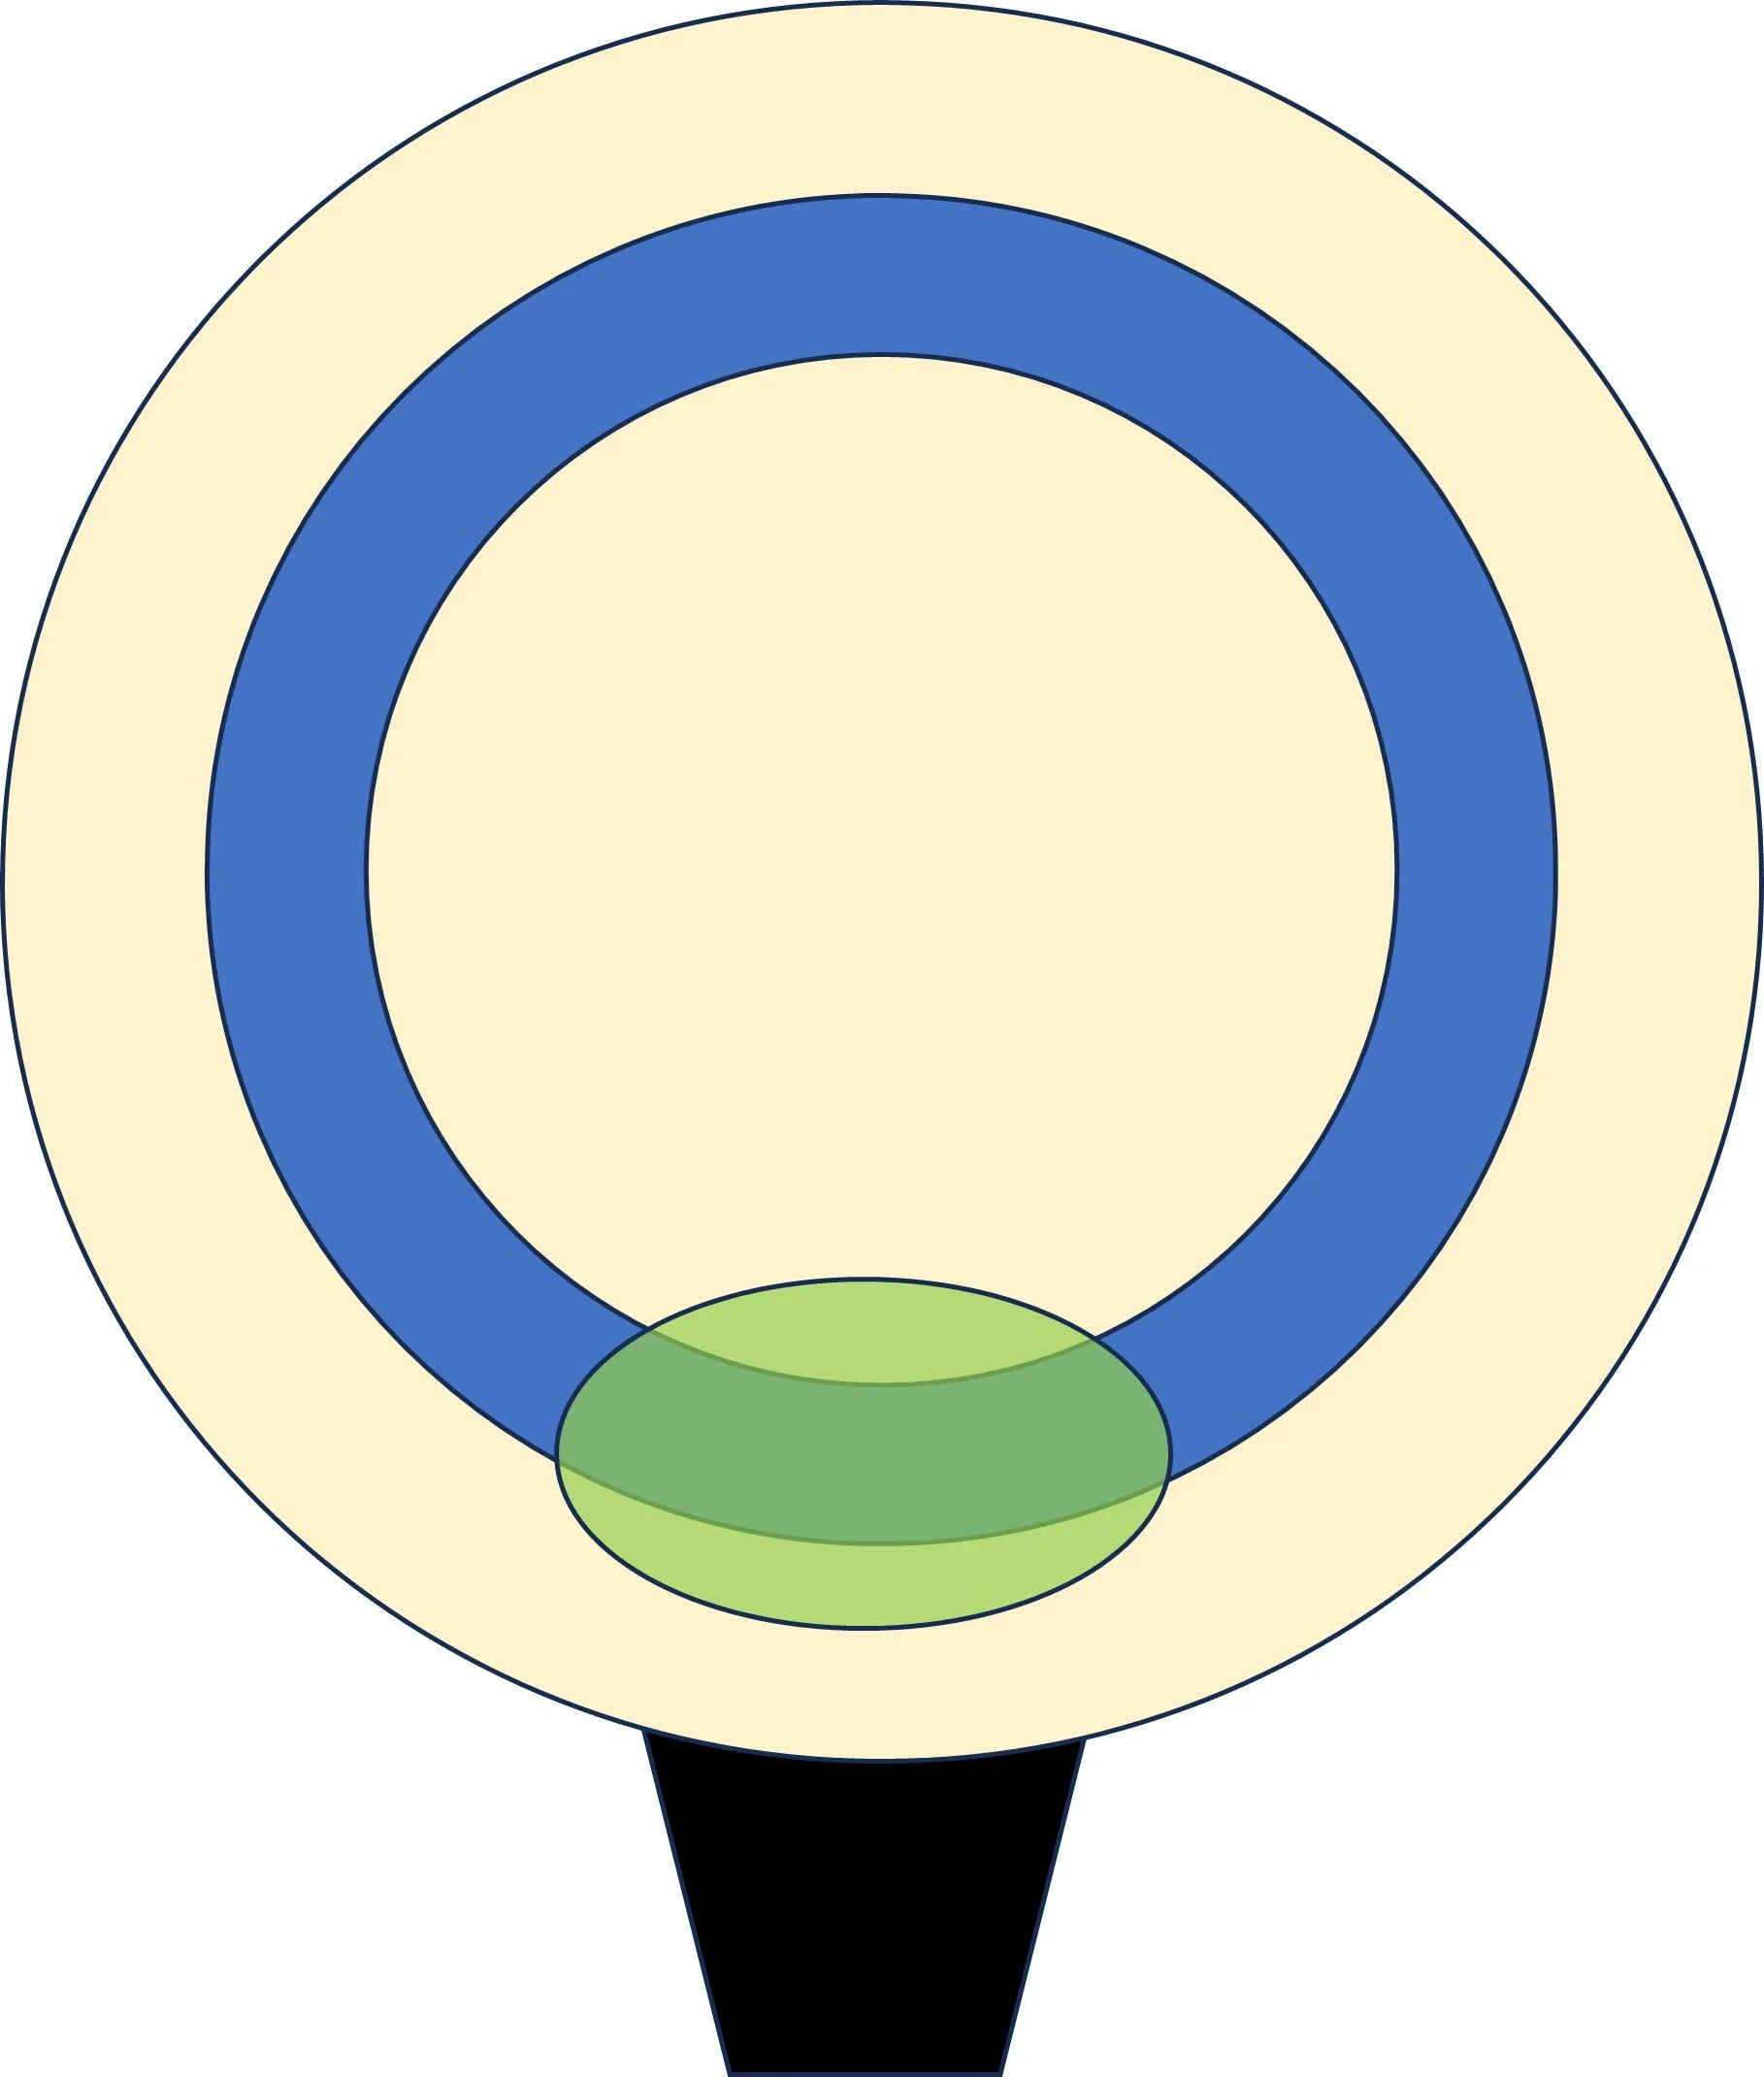
The second-best playing area is to the left and right of the drum, still 3-4 inches away from the rim (red zone below). These spots are useful when moving quickly between drums.
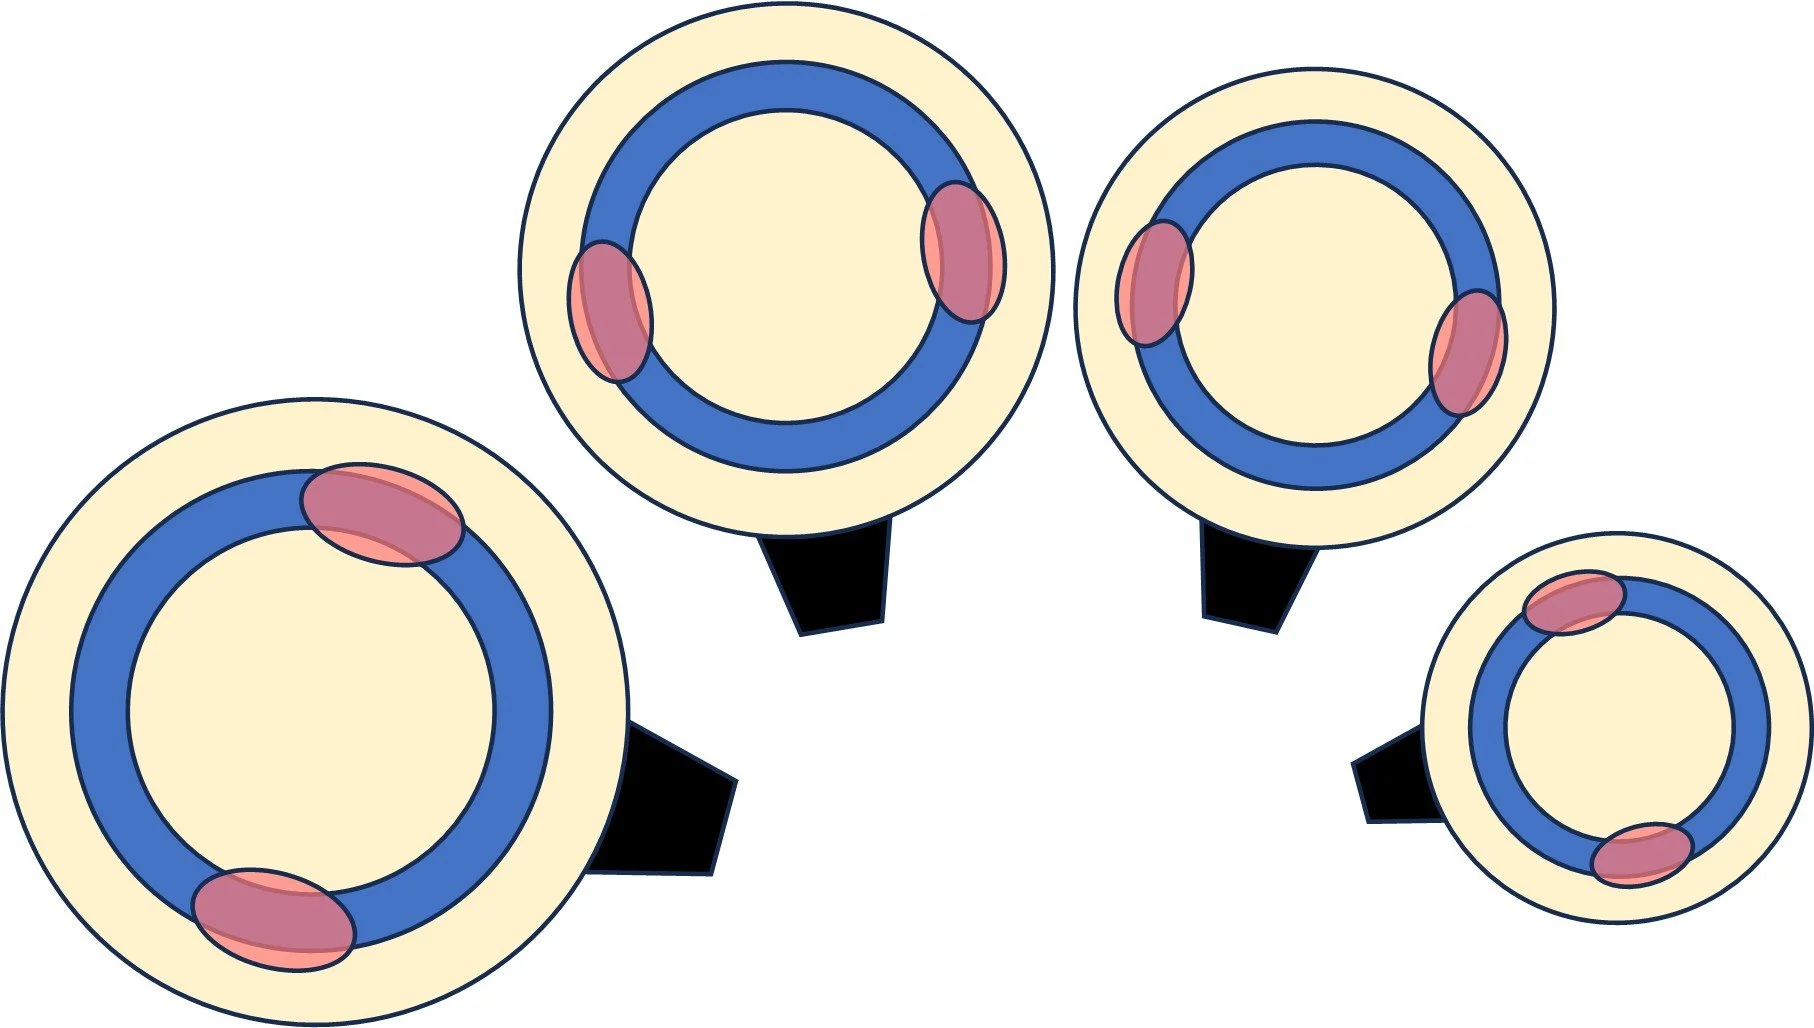
Drum Order
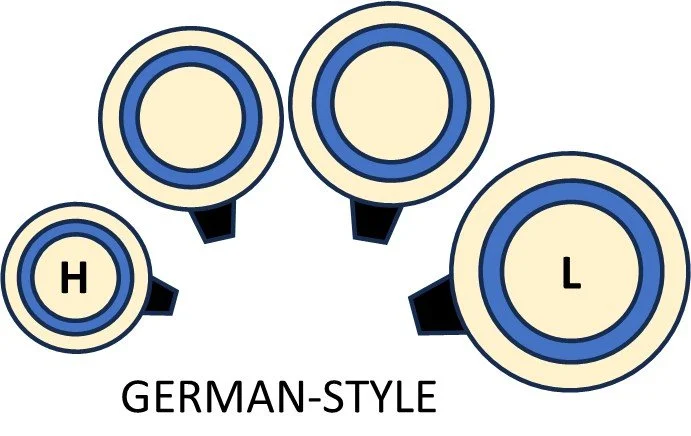
Timpani can be organised in two different ways: German-style or International-style.
The difference between these styles is the order in which you arrange the drums.
International-style is the one I’m most familiar with and the style which most percussionists I know play. It places the largest timpano on your left and the smallest on your right, meaning the pitch of your drums rises from left to right as it would on a piano or mallet percussion instrument. I’ve found International-style is easier for student percussionists to remember because of the mnemonic ‘LOW-LEFT, HIGH-RISE’.

German-style is the opposite, placing the smallest timpano on your left and largest on your right. Acoustically, high-pitched notes will speak quicker and louder than low-pitched notes. Given that a large percentage of the population are right-handed (and will therefore lead with their right hand when playing) it makes sense to place the higher tones away from the dominant hand, thereby evening-up the playing sound. That said, it can be confusing to get your head around this drum placement if you’re more familiar with keyboard instruments.
Using the Pedal
Timpani tuning methodology has undergone centuries of evolution. It wasn’t until the 1800s that people began to experiment with key, crank and, eventually, pedal operated timpani.
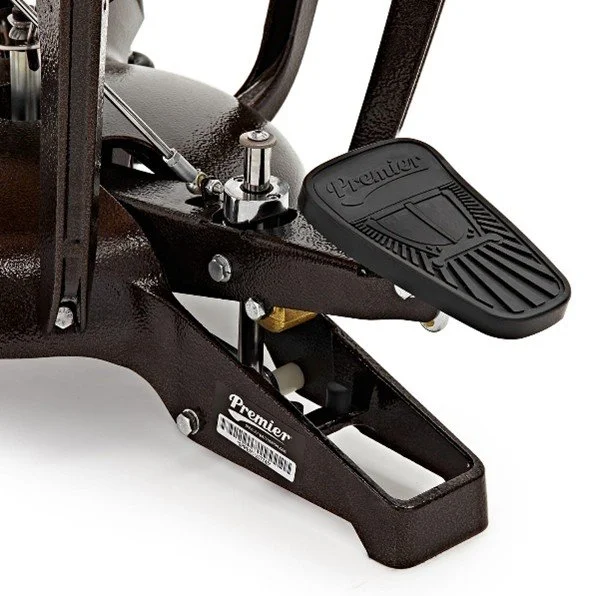
There are two main types pedals you’ll encounter on modern timpani: balance action pedals and locking pedals.
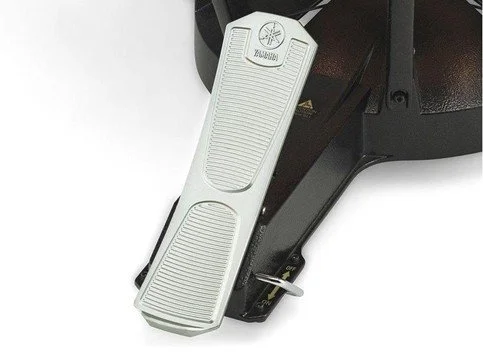
Balance action pedals are the easiest to use. They have no clutch mechanism, and function like a seesaw. When your heel is down that means the drum is in its lowest position. Pushing forward with your toes raises the pitch.
Locking pedals (also known as friction clutch or post & clutch pedals) utilise a clutch mechanism which moves up and down a central post. Engaging and disengaging the clutch allows you to change the pitch. To lock the clutch, tilt your foot backwards on the pedal towards your heel. To unlock the clutch, tilt your foot forward towards your toes. Depressing the unlocked pedal raises the drum’s pitch. So, paradoxically, when the pedal is completely depressed (lowest position) the drum is at its highest pitch, and when the pedal is completely raised (with your knee high) the drum is at its lowest pitch.
Setting the Gauge
The gauge helps to track and quickly adjust a timpano’s pitch. It’s typically located on the timp bowl either directly above the pedal or off to the side within the player’s sight-line.
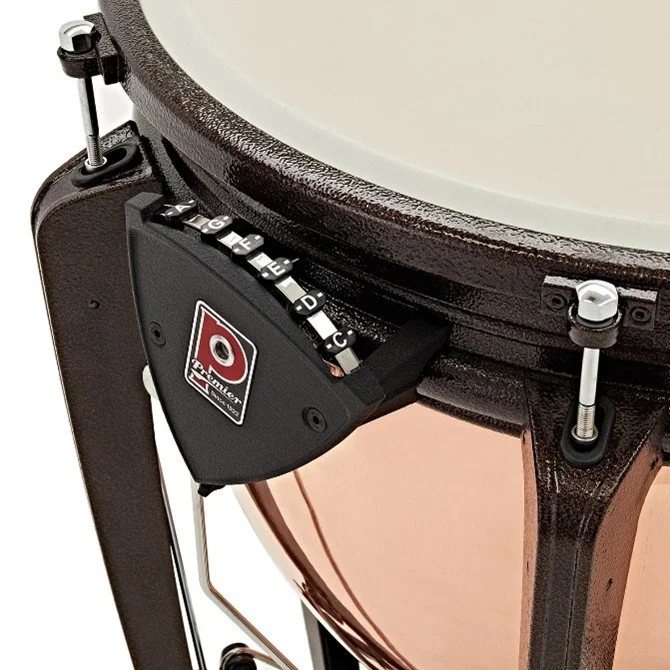
The gauge is a dial comprising a set of moveable letters (known as indices) and an arrow connected to the pedal. The letters represent the natural notes within a drum’s range and the arrow tells you to which pitch the pedal is currently set. Modern timps may have extra indices between the letters for accidentals, although this isn’t standard practice yet.
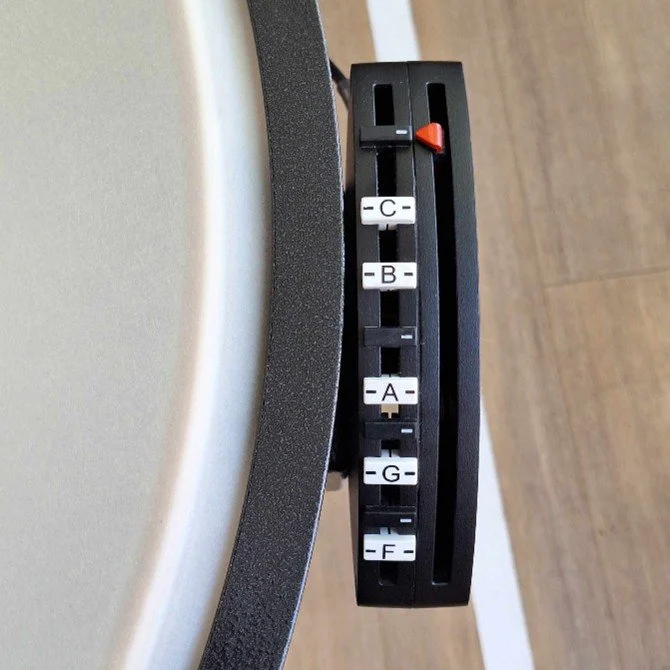
It’s important to remember that timpani should be tuned and the gauges adjusted before rehearsals and performances. Factors like the age of the head, unbalanced pedal tension, or temperature of the performance space can cause a timp’s pitch to fluctuate, meaning the gauges won’t always be accurate.
I’ve experienced more than one concert where, as the room warmed up, my timpani tuning became less precise because the gauge no longer showed where the pitches actually were. The gauge is representative. Nothing more. It doesn’t replace learning to tune by ear as well.
Moving Timpani
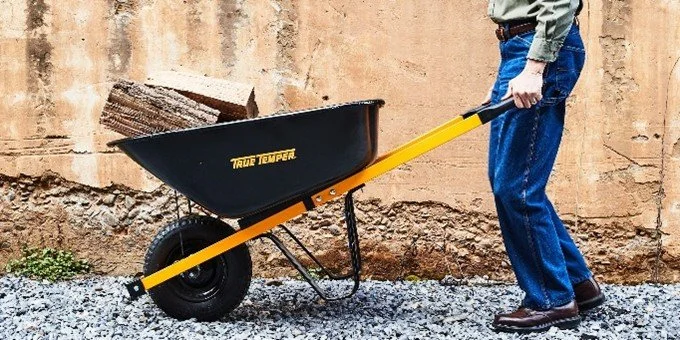
Moving timpani can be awkward and ungainly. Most timps will only have two back wheels. In order to move them you need to tilt the drum so the pedal no longer touches the ground. Kind of like a wheelbarrow.
The mistake I see people make most often is grabbing timps by the rim. Doing this can warp the rim, making it more difficult to tune the drums. It’s much better to lift from the struts (the poles surrounding the bowl) since these are more sturdy. This can be done in a few different ways.
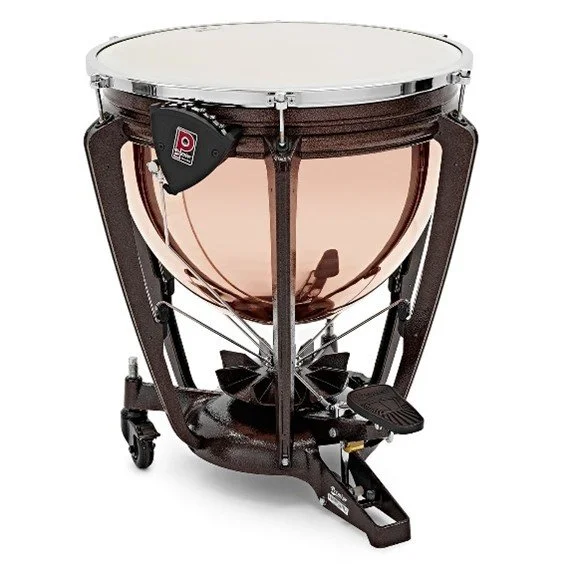
Method 1 is achieved by standing directly over the pedal, with feet either side, and grasping the closest struts. Lift up so the pedal no longer touches the ground and walk forwards. I’m not a massive fan of this method though because it restricts your stride, forcing you to frog march the timp and strain your lower back.
Method 2 is a variation on Method 1. Stand directly over the pedal and grasp the struts as you did before. Now, lift with your dominant hand only and use your non-dominant hand to steer. This allows you to adjust your feet to walk on one side of the pedal, thereby lengthening your stride and reducing stress on your muscles.
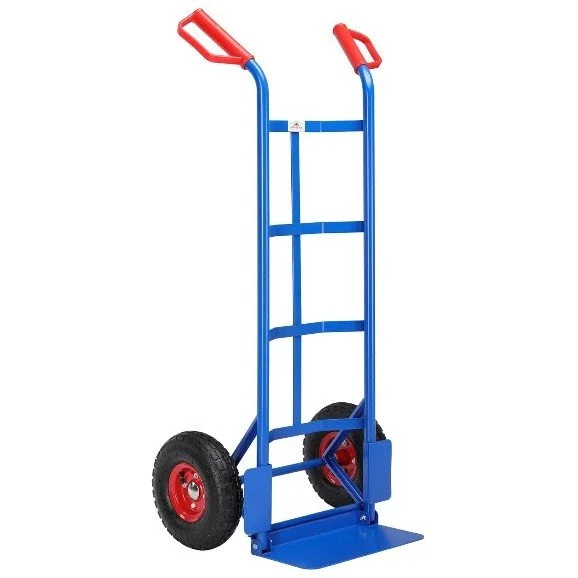
Method 3 is for the strong among us. Stand on the other side of the timpani directly opposite the pedal. Grasp the two struts in front of you and tip the drum towards yourself, kind of like a sack truck trolley. This will raise the pedal off the floor and allow you to roll the timp. This method relies on you balancing the drum extremely well.
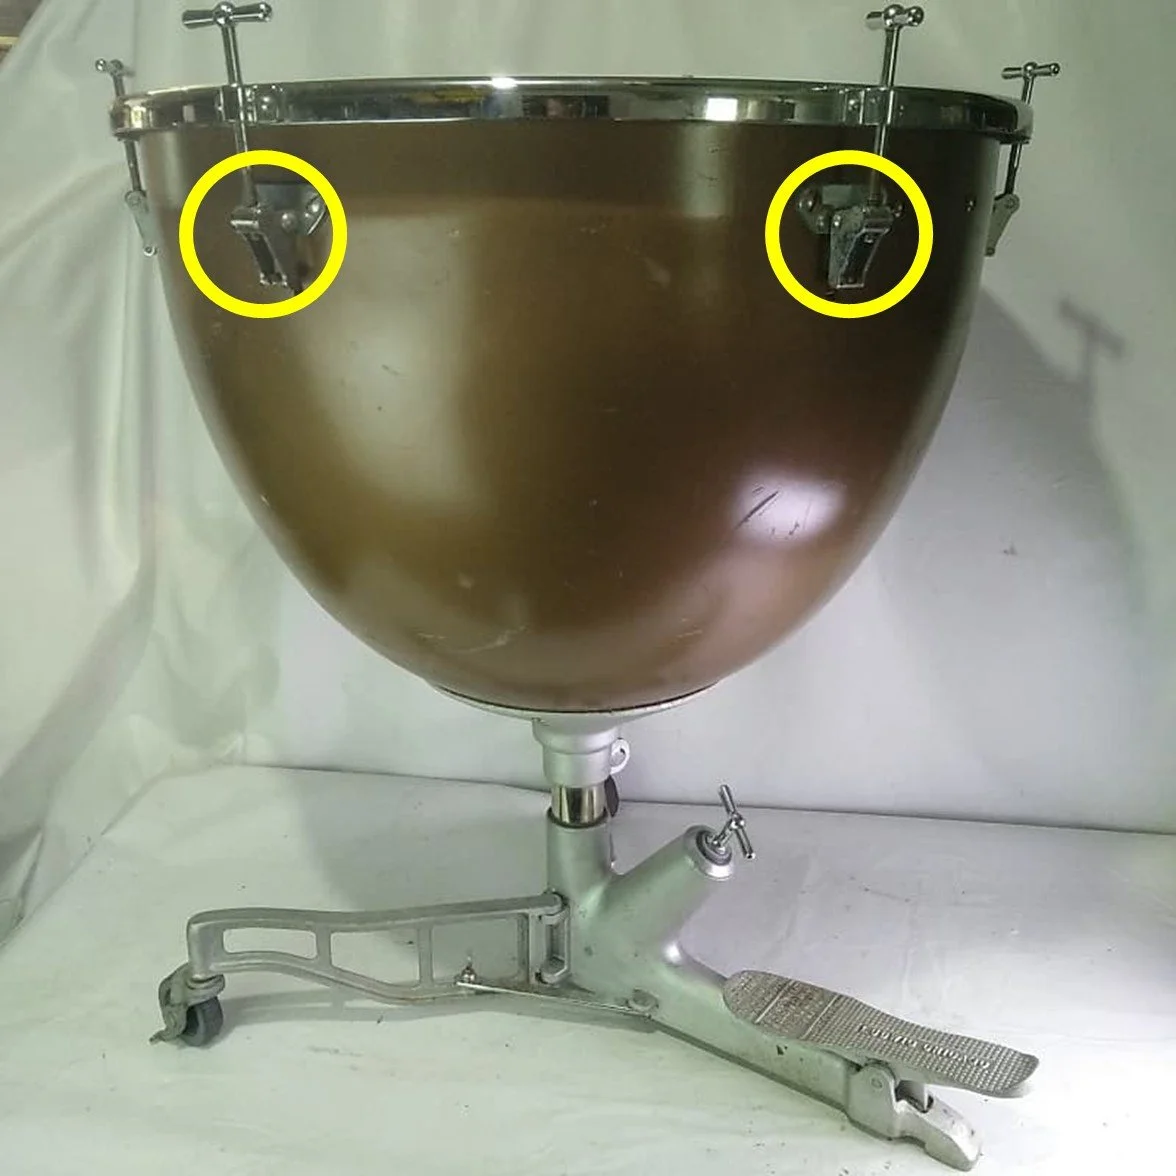
One last note: some older timpani models don’t have obvious external struts framing the bowl. There is an equivalent though! Look for the lug brackets which connect the rim to the bowl (circled in yellow below). Lift and steer by these instead!
Well, that’s all for today. Take care and happy playing!